A simple image shortcode for Zola
2023-08-26
As I mentioned in my first post, I want to use a very simple interactive element so users can enlarge the image I add to articles without having to right click them.

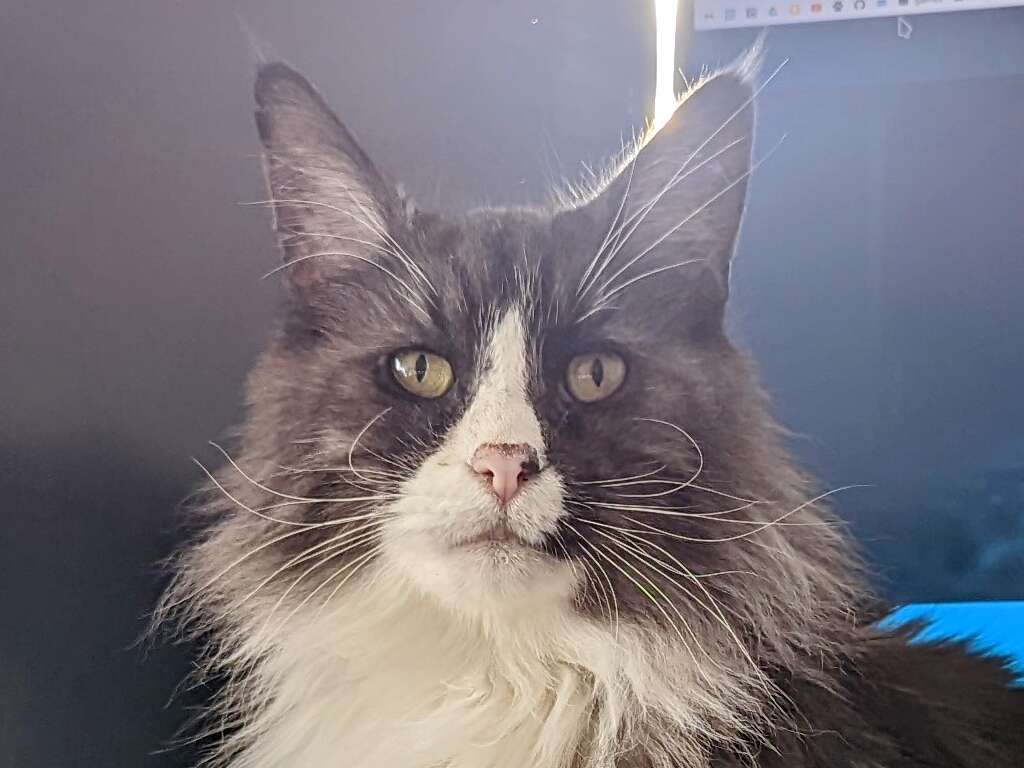
A photo of my cat
This is a good way to get started with the Tera template engine used by Zola, and to practice a bit with Zola's shortcodes, which enable us to create complex components we can use throughout our site.
The idea is to create a new shortcode to use instead of the usual image markdown syntax. This shortcode will display a better styled image frame which can be clicked and takes the user into a full-sized version. Let's write an extremely simple version:
1 <div class="post-img-container">
2 {%- if not alt -%}
3 {%- set alt = title -%}
4 {%- endif -%}
5
6 <a href="{{ src }}">
7 <img alt="{{ alt }}" src="{{ src }}" />
8 </a>
9 <p>{{ title }}</p>
10 </div>
This already improves the original markdown image by navigating to the image on
click. Adding proper styling to the .post-img-container class, we can fit it
in a frame and fix the size. But this is still not great: We are loading a
potentially huge image, and it will end up in a much smaller frame (depending on
your styling). So, while we're at it, why not make use of Zola's image
processing
capabilities
and make our shortcode template resize the image?
1 <div class="post-img-container">
2 {%- if not alt -%}
3 {%- set alt = title -%}
4 {%- endif -%}
5 {% set small = resize_image(path=page.colocated_path ~ src, op="fit_width", width=690, format="jpeg",
6 quality=60) -%}
7
8 <a href="{{ src }}">
9 <img alt="{{ alt }}" src="{{ small.url }}" />
10 </a>
11 <p>{{ title }}</p>
12 </div>
In lines 5-6, we call resize_image with our original image. Now, our shortcode
template will generate the extra versions without any action on our part!
We can improve this a bit more. Zola can convert images into
WebP with its resize_image
function. WebP images compress much better than JPEG:
JPEG Image, 76.3KB

WebP Image, 45.9KB
Both of those images are converted from the original with a 60% quality setting. Although there is a very slight quality difference, the WebP image is about 40% lighter.
Now, we don't want to use the WebP format alone. Some browsers might not like
it, and then the image won't show at all. But instead of a bare <img>, we can
use a <picture>
element. You
can nest <source> elements inside of a <picture> element, and specify a
srcset property in these. In srcset, you can define different conditions
(like width or pixel density) for the selection of a particular source instead
of the others.
We just want the browser to choose the WebP image instead of the Jpeg if it is
capable of doing so. For this, simply adding a source with it will be enough.
The best part is Zola will generate all these different versions of the image
automatically.
1 <div class="post-img-container">
2 {%- if not alt -%}
3 {%- set alt = title -%}
4 {%- endif -%}
5 {% set iwebp = resize_image(path=page.colocated_path ~ src, op="fit_width", width=690, format="webp",
6 quality=config.extra.webp_quality) -%}
7 {% set ijpg = resize_image(path=page.colocated_path ~ src, op="fit_width", width=690, format="jpeg",
8 quality=config.extra.jpeg_quality) -%}
9
10 <a href="{{ src }}">
11 <picture>
12 <source srcset="{{ iwebp.url }}" type="image/webp">
13 <img src="{{ ijpg.url }}" alt="{{ alt }}" type="image/jpg" />
14 </picture>
15 </a>
16 <p>{{ title }}</p>
17 </div>
In lines 5-6, we generate a WebP version of our image. In lines 11-14, we've
changed the <img> for a <picture> element which includes a nested <source>
with that new image.
To easily change the quality of all the images in our site, we add some
definitions to our config.extra field in ./config.toml:
[extra]
# Put all your custom variables here

jpeg_quality = 60
webp_quality = 60
Now, instead of the usual  title markdown syntax, we can
write something like:
{{ /* image(src="cato.jpg", title="A photo of my cat") */ }}
You can style it however you want. if you want to know how I styled mine, you can head to the blog's GitHub repo and take a look at the SCSS.
A further improvement could be changing the a link to a WebP-compressed
alternative instead of the original.
Back to: top / home